About the Kitchen Printers Settings
This page allows you to connect and configure kitchen printers.
On the Printing Settings screen, if you enabled using the kitchen printers, the customer orders will be automatically sent to appropriate kitchen printers each time you tap the Start button on the Active Orders screen or after the order payment. For each category of items, the appropriate kitchen printer is defined in the category properties.
NOTE: The order items sent to the kitchen printer are marked in the kitchen receipt. In this scenario, if a customer orders new items, POS Terminal will send only those items.
Configure the Kitchen Printers Settings
Before you start, open the Kitchen Printers Settings form:
- In the POS Terminal app menu, click Settings, and then click Kitchen Printers:
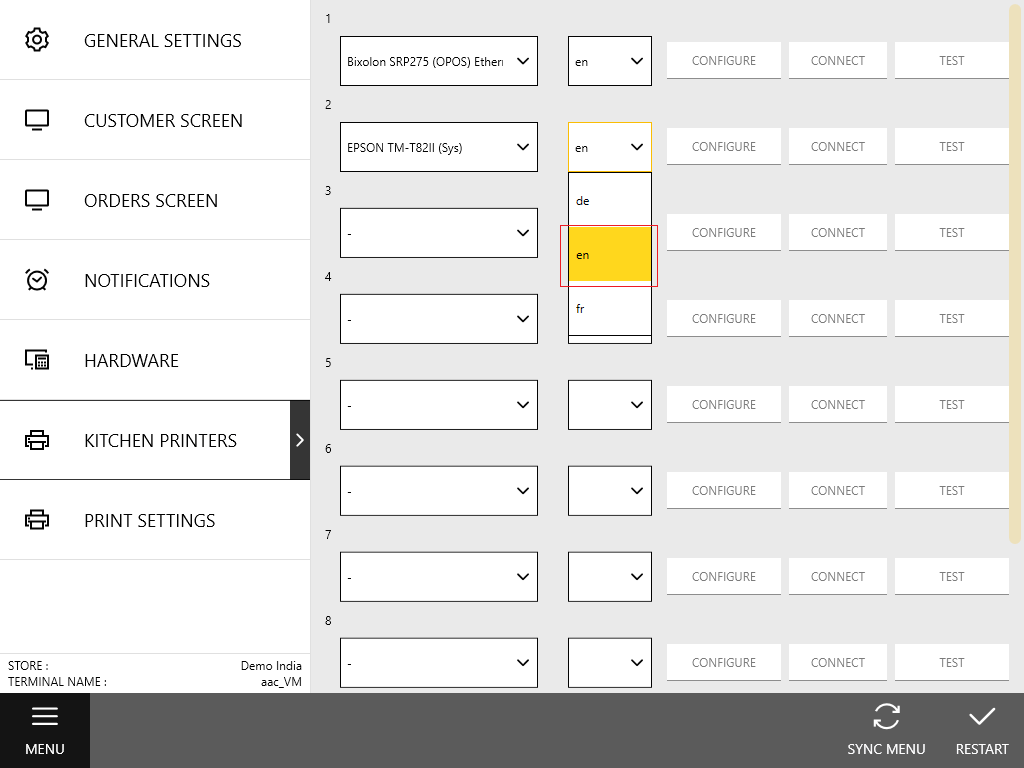
To configure the Kitchen Printers settings
- From a list of available hardware (column 1), select a kitchen printer to connect to your POS terminal.
- Optionally, from a list of installed languages (column 2), select a language to use for printing kitchen receipts.
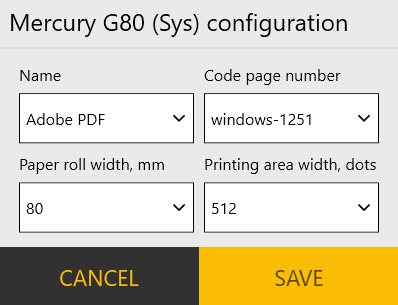
TIP: For more information, see Languages. - Click Configure and follow the provided onscreen instructions to configure selected kitchen printer.
To clarify this procedure, consider the system dialog used to configure the Mercury G80 printer:
- Click Connect to connect the kitchen printer.
- Optionally, click Test to test the device connection.
- Repeat Steps 1 to 5 for each kitchen printer to connect.
IMPORTANT: Before configuring kitchen printer using POS Terminal apps, ensure that the printer is installed and configured in your Operating system.
See also