This topic helps you work with your vendors and contractors. The following subjects are covered:
- View a list of vendors
- Add new vendor
- Edit a vendor profile
- Remove vendors from the list
- Make new purchase order
- Import new vendor from a data sheet.
View a List of Vendors
To view a list of registered vendors
In the left pane of the Back Office Management console, click the Inventory node, and then click Vendors.
This operation opens a list of your registered vendors like the following screen:
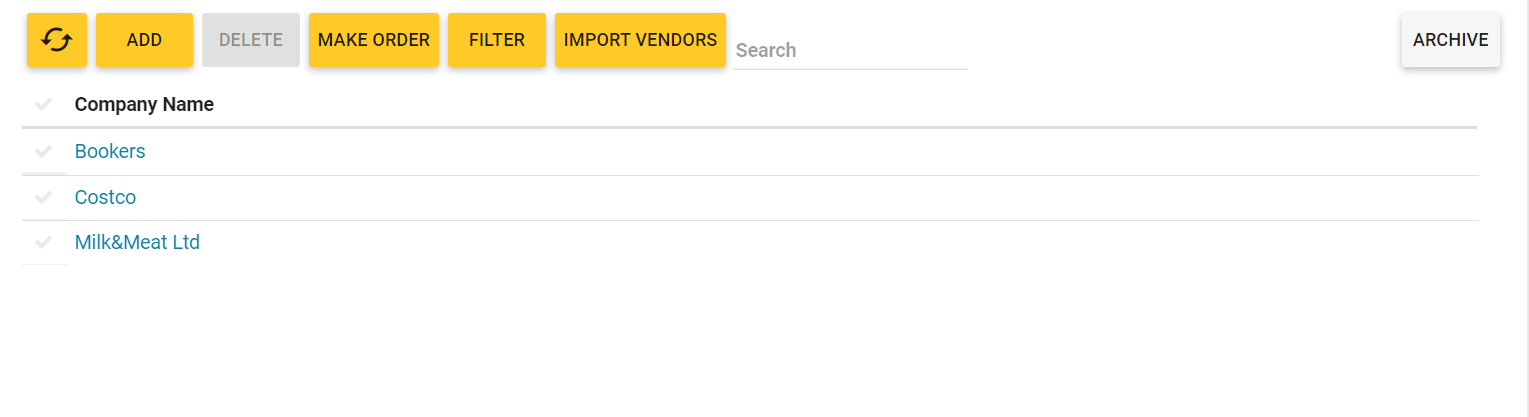
This page defines the following control elements:
- Add: adds new vendor to the list.
- Delete: removes selected vendors from the list.
- Make Order: click to make new purchase order.
- Filter: lets you filter the vendors list by specified criteria.
- Import Vendors: imports new vendors from an XLSX or XLSXM data sheet.
- Search: lets you search the list for vendors whose names contain the search key.
- Archive: opens a list of deleted vendors (you can restore deleted vendors).
All those operations are described later in this topic.
Add New Vendor
To add new vendor, open the list of registered vendors as described earlier in this topic, and then complete the following steps:
- Click Add.
- Complete the Add Vendor form, and then click Save:
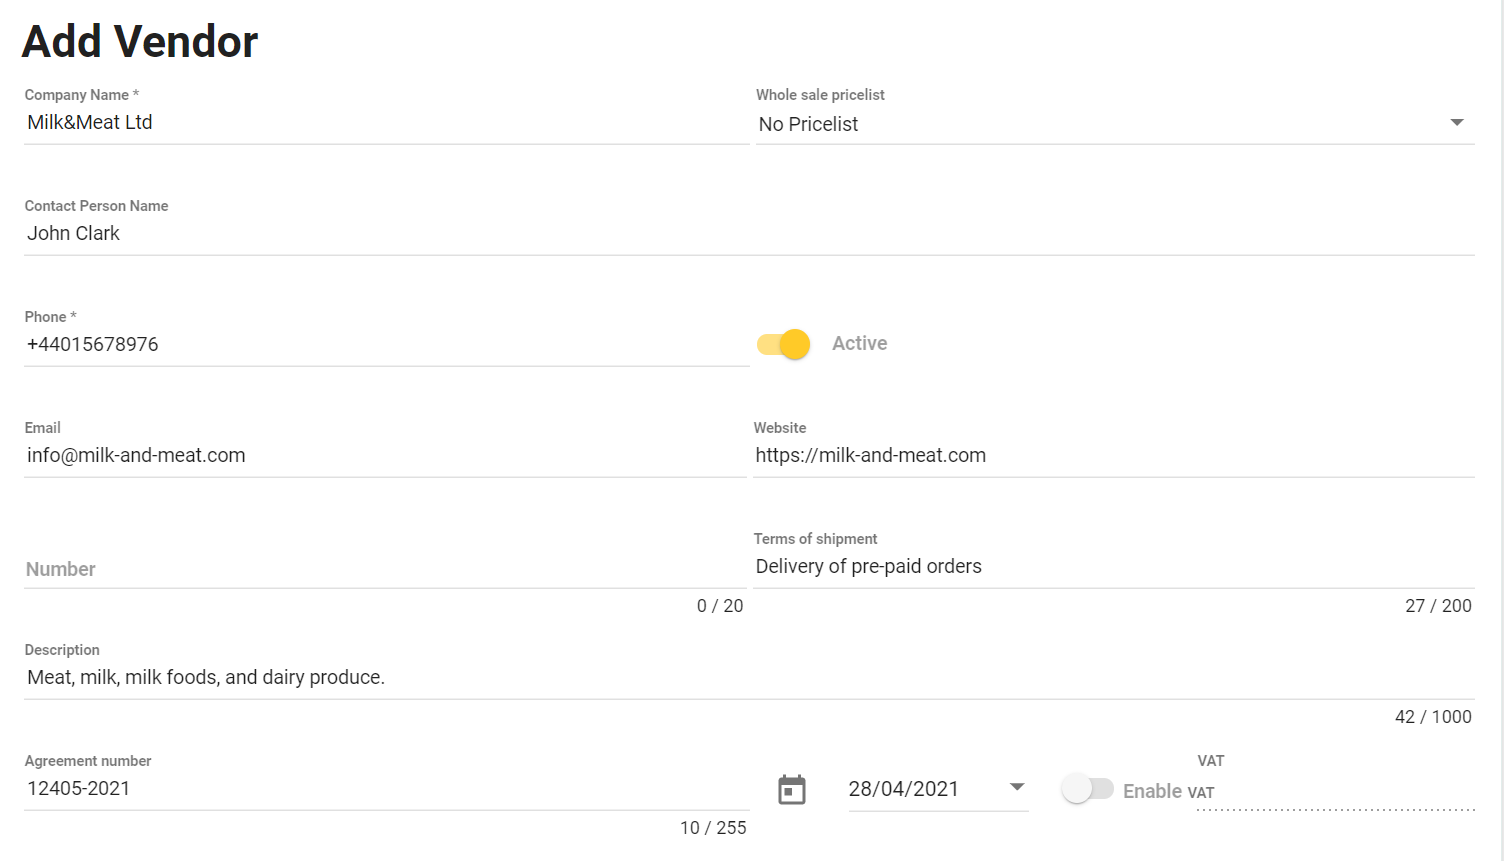
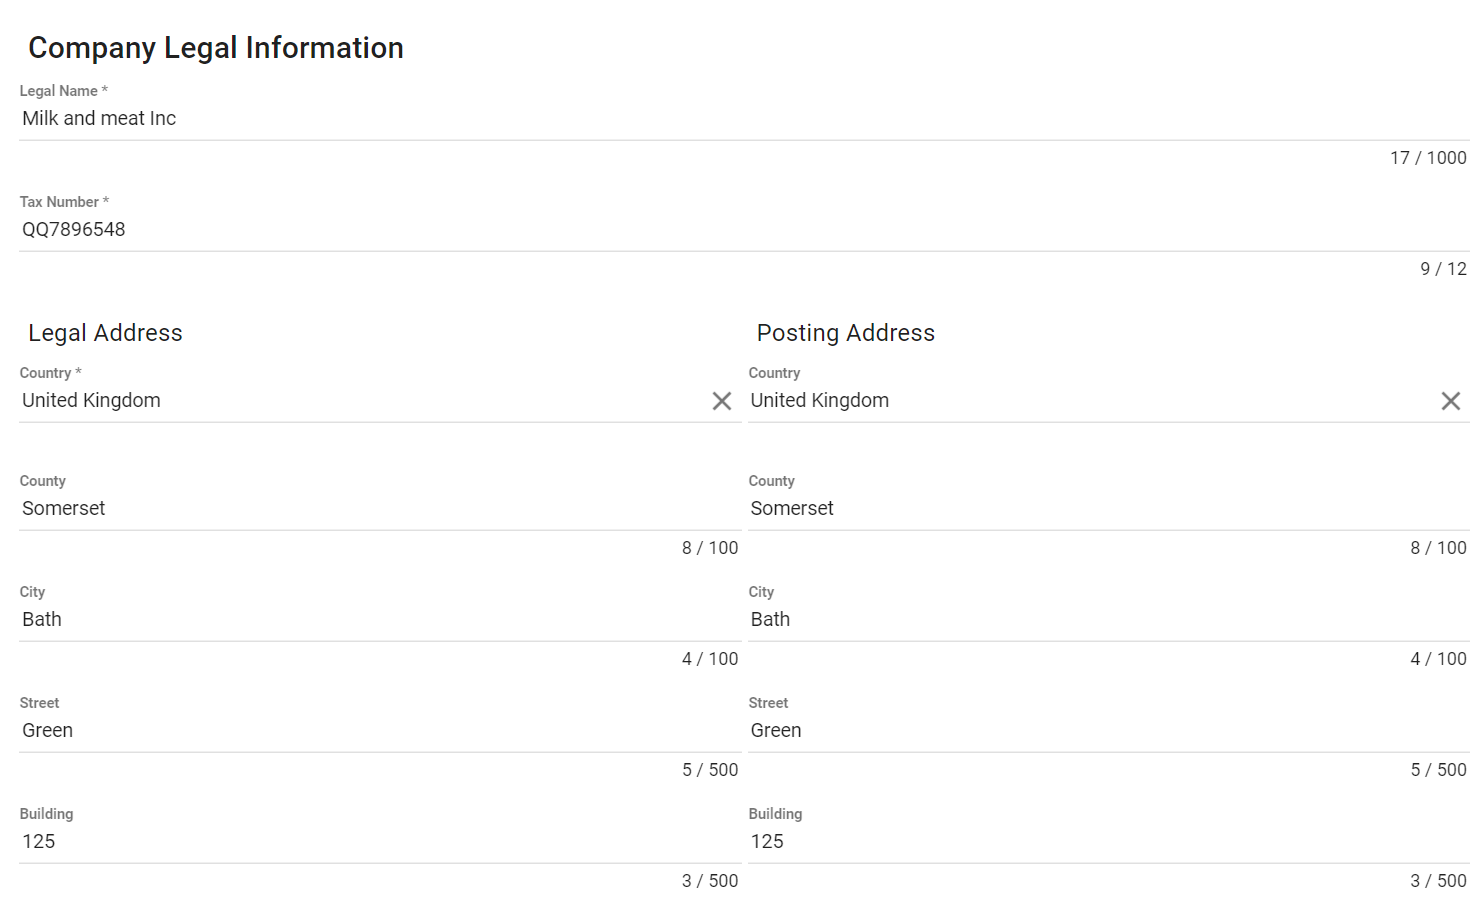
Before completing this form (this screenshot is not a complete form), consider the following information:
- Required fields are marked with an asterisk (*).
- If new vendor has a wholesale price list, select that price list from the Wholesale pricelist list. For more information, see the Wholesale price lists section.
- To activate new vendor account, turn on the Active toggle button.
Edit and View the Vendor Profile
YumaPOS logs all information about the work with your vendors (such as purchase orders, the orders statuses, etc.). At any moment, you can view the vendor profile and edit it if necessary.
To view or edit a vendor profile
- Open the list of registered vendors (see View a List of Vendors earlier in this topic).
- Click the vendor name.
This opens a tabbed page like the following screens:
The General tab displays the vendor profile (general information):
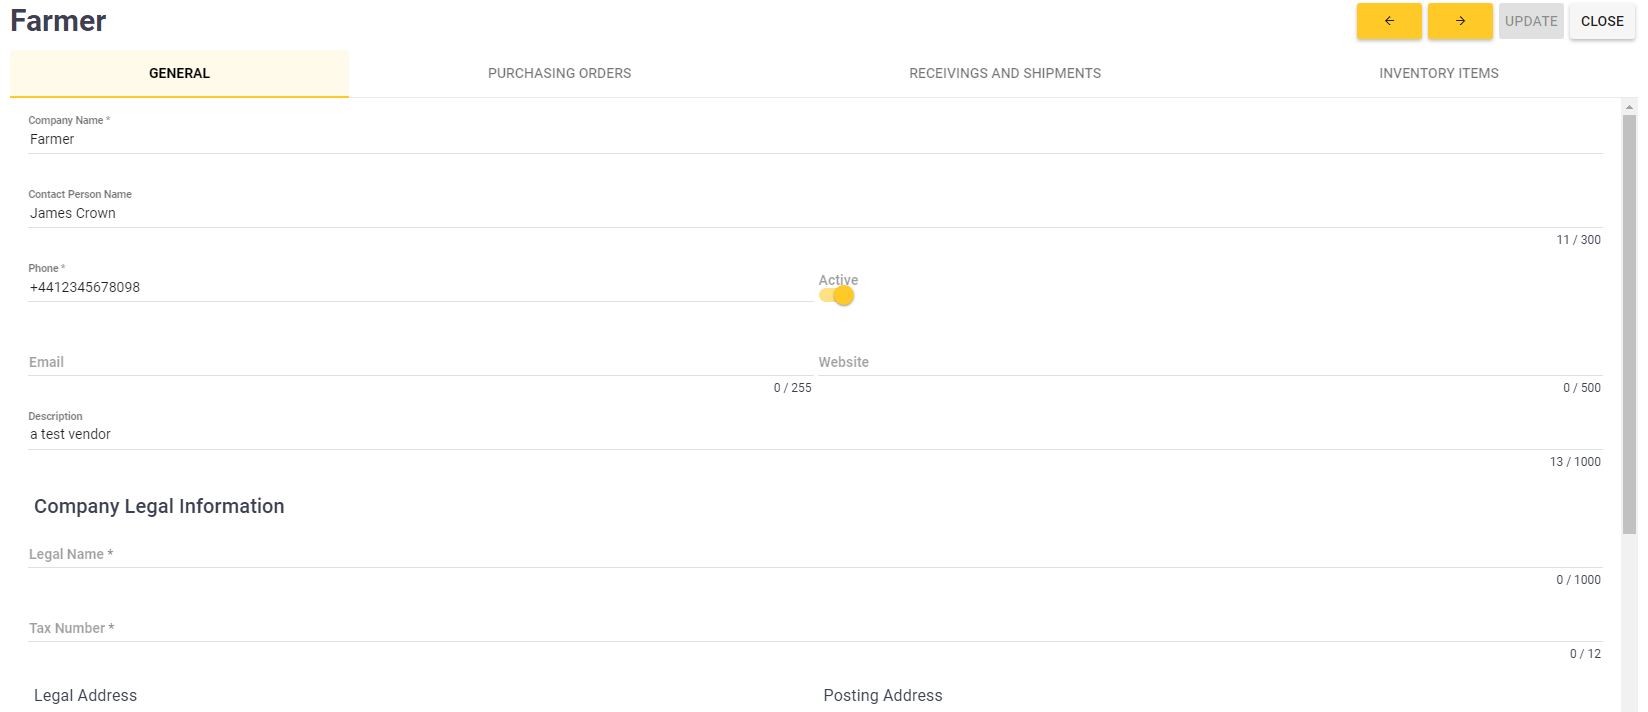
The Purchasing Orders tab displays overall information about all purchase orders of the vendor:
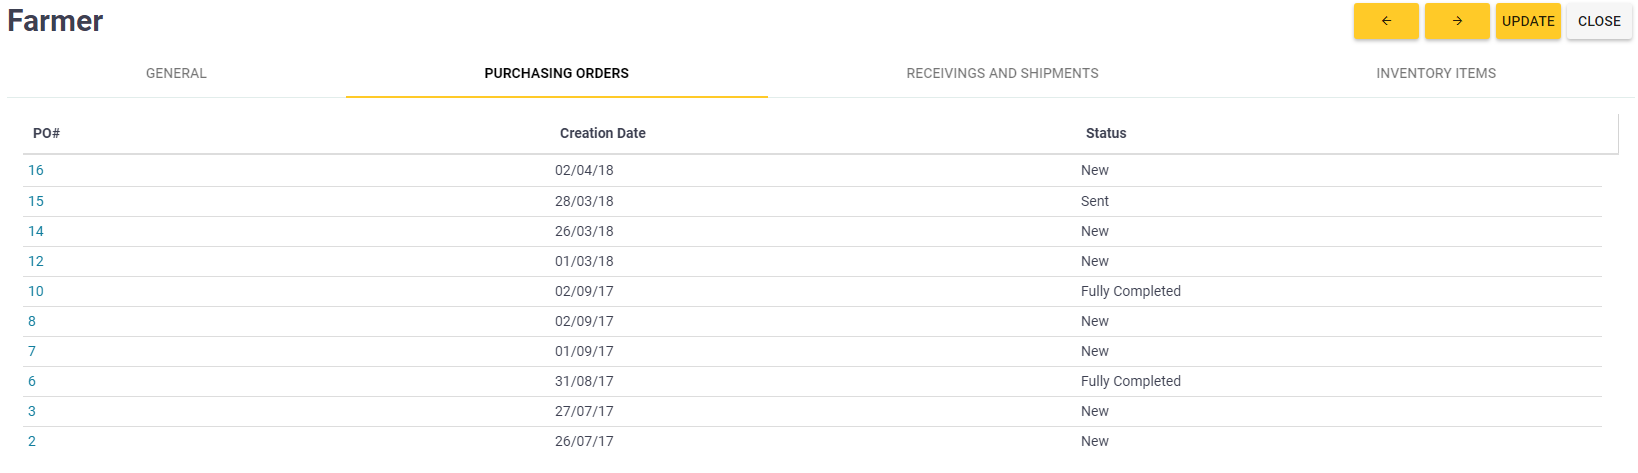
TIP: Click the order number (in the PO# column) to get detailed information on that order. For more information, see Purchase orders.
The Receivings and Shipments tab lists acts of shipments and receiving inventory items from this vendor:
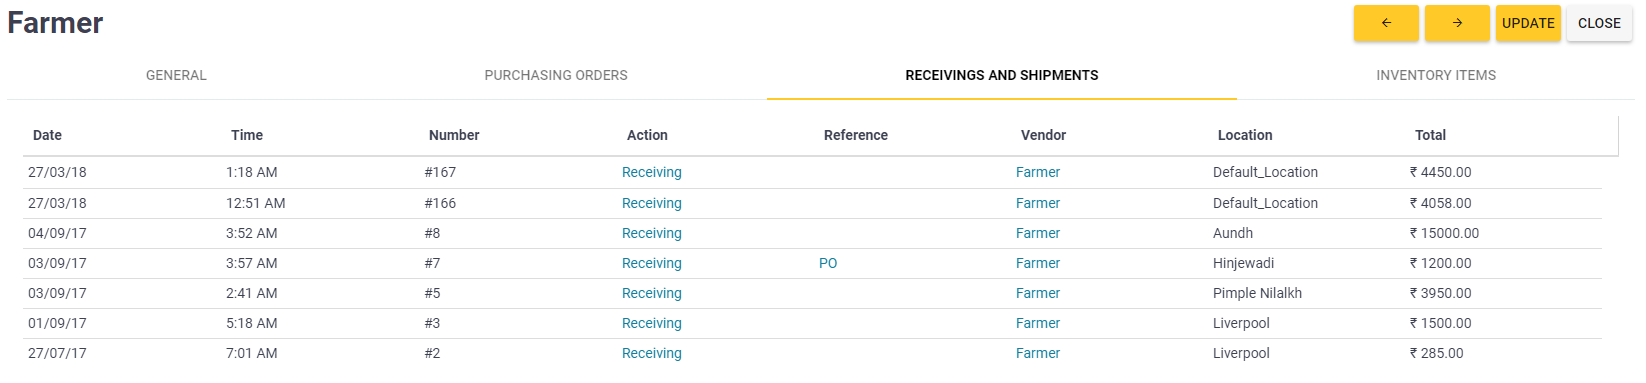
TIP: To get detailed information on each action, use links on this tab.
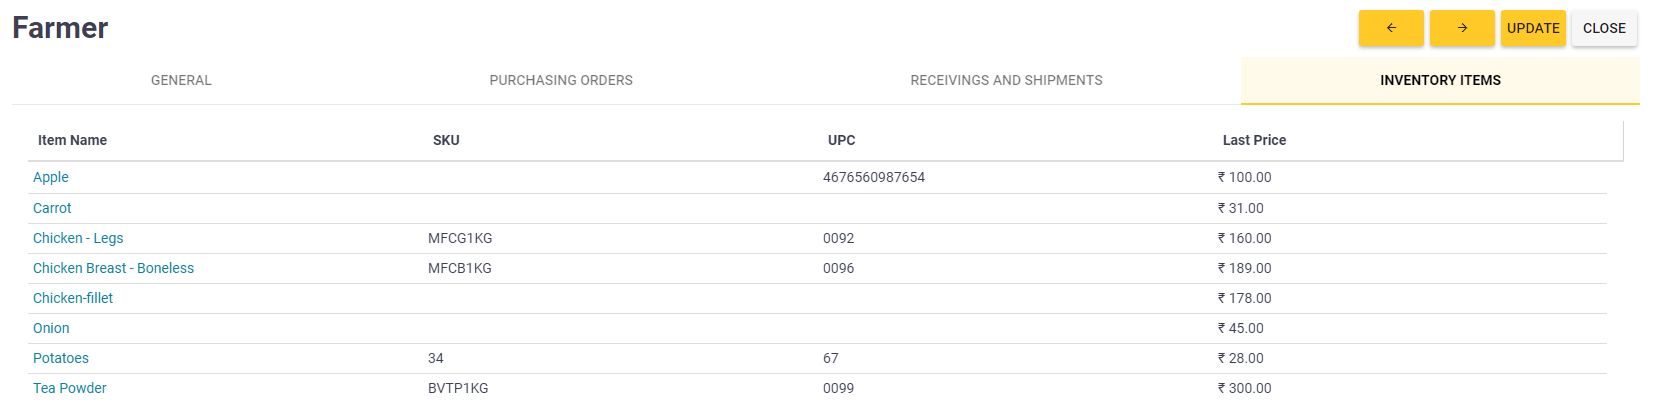
The Inventory Items tab displays a list of inventory items purchased from this vendor:
Remove Vendor(s) from the List
To remove vendor(s) from the list
- From the list of vendors, select vendors to remove.
- Click Delete, and when prompted, confirm the deletion operation.
NOTE: You cannot delete vendors that are mentioned in applied inventory documents, such as Acts of receivings, purchase orders, etc.
Make New Purchase Order
To make new purchase order
- Open the list of registered vendors (see View a List of Vendors earlier in this topic), and then click Make Order.
- Complete the Add Order form.
NOTE: For more information on how to complete the Add Order form, see Purchase Orders.
Import Vendor Information from Excel Spreadsheets
You can import new vendor(s) from a predefined Excel spreadsheet (an XLSX or XLSXM data file). This section provides instructions on how to download the spreadsheet template from YumaPOS site.
To download the spreadsheet template
- Click Import Vendors.
This operation opens the Import vendors dialog box similar to the following screen:
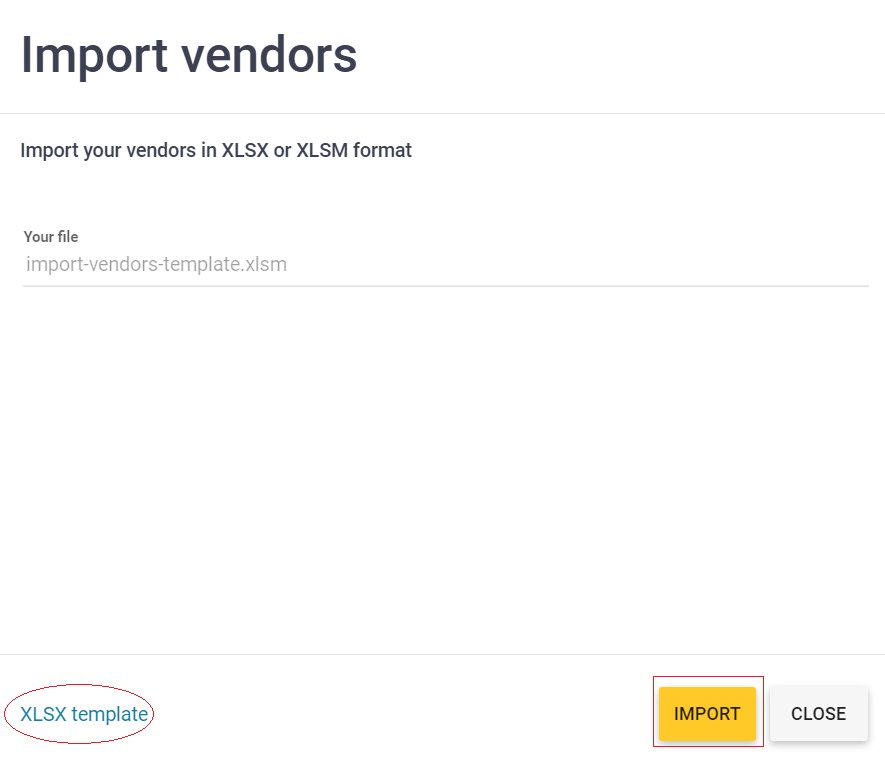
- Click XLSX template.
- Fill in the template spreadsheet with information about your new vendors.
To import new vendors from the spreadsheet template
- Click Import Vendors.
This operation opens the Import vendors dialog box similar to the previous screen. - Click the line under Your file, select an XLSX data spreadsheet with information about your new vendors, and click Import.